 Save to Pinterest
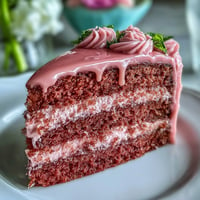
 There's something magical about a cake that captures the essence of spring in every slice. This Spring Ombre Cake in Pastel Pink and Yellow is a masterpiece of soft gradients and delicate flavors, where layers of tender sponge cake blend seamlessly from sunshine yellow to blush pink. Finished with silky buttercream that melts on your tongue, this stunning dessert is more than just a cake—it's an edible celebration of the season's gentle beauty. Whether you're hosting a garden party, celebrating a birthday, or simply welcoming warmer days, this show-stopping creation brings joy to any table. The subtle vanilla notes and cloud-like texture make every bite a dream, while the pastel palette transforms your dessert into a work of art that's almost too pretty to eat.
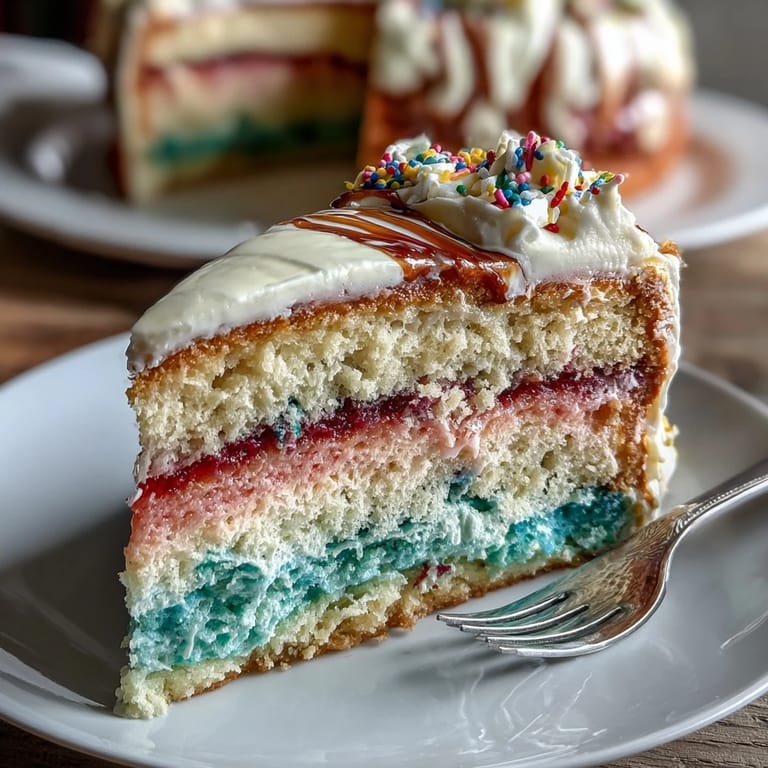
Save to Pinterest Creating this ombre masterpiece is a delightful journey that rewards patience and care. The magic begins with a classic vanilla cake batter, perfectly balanced and fluffy, which you'll divide and transform with just a few drops of gel food coloring. As the three layers bake to golden perfection, your kitchen fills with the warm, comforting aroma of vanilla and butter. The real artistry comes during assembly, where you'll stack and frost each layer with color-coordinated buttercream, then blend the exterior into a seamless gradient that transitions from cheerful yellow to romantic pink. The process is meditative and creative, allowing you to customize the intensity of your colors and add your personal touch with decorative flourishes like edible flowers or delicate sprinkles.
Ingredients
Tired of Takeout? 🥡
Get 10 meals you can make faster than delivery arrives. Seriously.
One email. No spam. Unsubscribe anytime.
- Cake Batter: 3 cups (375 g) all-purpose flour, 2 ½ tsp baking powder, ½ tsp salt, 1 cup (226 g) unsalted butter at room temperature, 2 cups (400 g) granulated sugar, 4 large eggs at room temperature, 1 tbsp pure vanilla extract, 1 cup (240 ml) whole milk at room temperature
- Food Coloring: Pink gel food coloring, yellow gel food coloring
- Buttercream Frosting: 1 ½ cups (340 g) unsalted butter at room temperature, 5 cups (600 g) powdered sugar (sifted), 2 tsp pure vanilla extract, 3–4 tbsp (45–60 ml) milk or heavy cream, pinch of salt, pink and yellow gel food coloring
Instructions
- Step 1: Prepare Pans and Oven
- Preheat oven to 350°F (175°C). Grease and line three 8-inch (20 cm) round cake pans with parchment paper.
- Step 2: Mix Dry Ingredients
- In a medium bowl, whisk together flour, baking powder, and salt.
- Step 3: Cream Butter and Sugar
- In a large bowl, beat butter and sugar together on medium speed until light and fluffy (about 3–4 minutes).
- Step 4: Add Eggs and Vanilla
- Add eggs one at a time, beating well after each addition. Mix in vanilla extract.
- Step 5: Combine Wet and Dry
- Alternately add flour mixture and milk to the butter mixture, beginning and ending with the flour, mixing just until combined.
- Step 6: Color the Batters
- Divide batter evenly into three bowls. Tint one bowl with a small amount of pink food coloring for a pale pink, tint the second with a small amount of yellow for pale yellow, and leave the third bowl plain or add a drop of both for a pastel peach if desired.
- Step 7: Bake the Layers
- Pour each colored batter into prepared pans. Smooth tops and bake for 22–26 minutes, or until a toothpick inserted into the center comes out clean.
- Step 8: Cool Completely
- Cool cakes in pans for 10 minutes, then turn out onto wire racks to cool completely.
- Step 9: Make Buttercream
- For the buttercream, beat butter on medium-high speed until creamy. Gradually add powdered sugar, vanilla, salt, and 3 tbsp milk or cream; beat until fluffy (add more milk if needed).
- Step 10: Color the Frosting
- Divide frosting into three bowls. Tint one bowl pastel pink, one pastel yellow, and leave one plain.
- Step 11: Stack and Frost Layers
- To assemble, level cake layers if necessary. Place yellow cake layer on serving plate, spread with yellow buttercream. Top with peach or uncolored layer, frost with plain buttercream. Top with pink layer, frost with pink buttercream.
- Step 12: Create Ombre Effect
- Use remaining frosting to ombre the sides, blending from yellow at the base to pink at the top for a gradient effect. Smooth with a cake scraper or spatula.
- Step 13: Final Touches
- Decorate with pastel sprinkles, edible flowers, or as desired. Chill 30 minutes before slicing for cleaner cuts.
Zusatztipps für die Zubereitung
For the best results, ensure all your ingredients are at room temperature before you begin—this helps create a smooth, evenly textured batter that bakes uniformly. When dividing the batter, use a kitchen scale for precision so each layer is the same height. Gel food coloring is essential here; liquid food coloring can alter the batter's consistency and won't give you the vibrant pastels you're after. Start with just a tiny amount of coloring—you can always add more, but you can't take it away. When assembling your ombre, a turntable makes the frosting process much easier, allowing you to create smooth, even gradients. For ultra-clean slices, chill the cake for at least 30 minutes and use a sharp knife dipped in hot water (then wiped dry) between each cut. Store the cake covered at room temperature for 1 day, or refrigerate for up to 4 days, bringing it to room temperature 30 minutes before serving for the best flavor and texture.
Varianten und Anpassungen
This recipe is wonderfully adaptable to suit different tastes and occasions. For a tangier flavor profile, substitute buttermilk for the whole milk in the cake batter. If you want a more vibrant ombre effect, simply use more gel food coloring in each layer and frosting portion. Try different color combinations like lavender and mint green for a different spring palette, or peach and coral for a sunset-inspired cake. You can also add lemon zest to the batter for a subtle citrus note that complements the vanilla beautifully. For a chocolate variation, replace ½ cup of flour with cocoa powder in one of the layers. Make it gluten-free by using a 1:1 gluten-free baking flour blend. For those who prefer less sweet frosting, try a cream cheese buttercream by substituting half the butter with cream cheese.
Serviervorschläge
This elegant Spring Ombre Cake deserves a presentation that matches its beauty. Serve slices on white or pastel-colored plates to let the gradient colors shine through. Garnish each plate with fresh berries, a small edible flower, or a light dusting of powdered sugar for an extra touch of elegance. The cake pairs beautifully with a glass of chilled Moscato, whose subtle sweetness and floral notes complement the vanilla and buttery frosting perfectly. For a non-alcoholic option, sparkling lemonade or a delicate chamomile tea creates a lovely balance. Consider serving alongside fresh strawberries, a berry compote, or a dollop of lightly sweetened whipped cream. This cake is perfect for afternoon tea parties, bridal showers, Easter celebrations, Mother's Day gatherings, or any spring occasion where you want to impress your guests with both flavor and visual appeal.
 Save to Pinterest
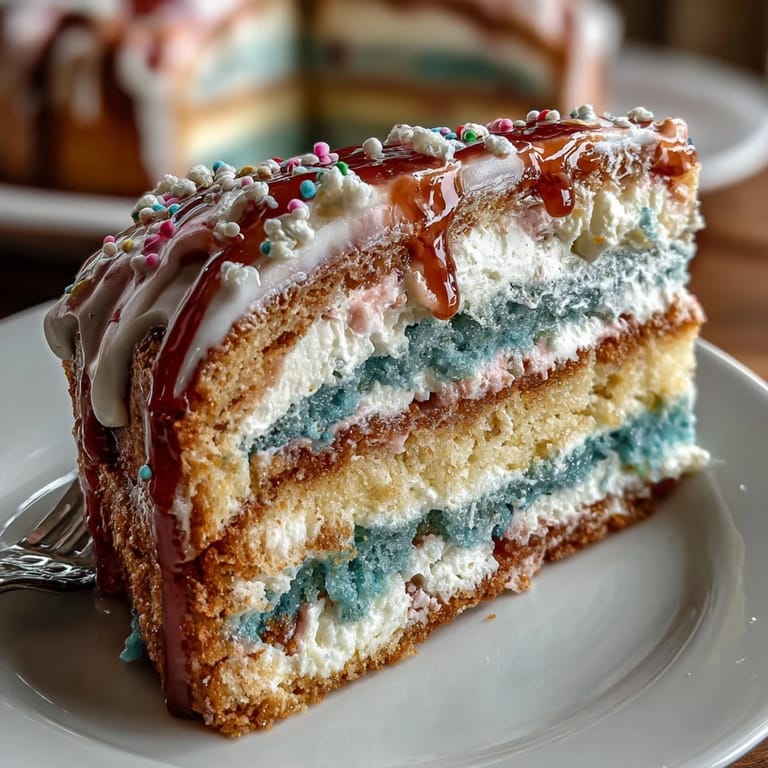
 This Spring Ombre Cake is more than just a dessert—it's a celebration of color, flavor, and the joy of baking. With its tender crumb, silky buttercream, and eye-catching gradient design, it transforms any occasion into something truly special. The combination of classic vanilla cake and artistic presentation makes it a crowd-pleaser that appeals to both the eyes and the palate. Whether you're an experienced baker looking for your next showstopper or an adventurous home cook ready to try something new, this recipe rewards your efforts with a stunning result that will have everyone asking for seconds. So gather your ingredients, embrace your creative side, and let this beautiful ombre creation bring the fresh, hopeful spirit of spring right to your table. Your guests will be amazed, and you'll have the satisfaction of knowing you created something truly beautiful and delicious.
Recipe FAQs
- → How is the ombre effect achieved in the sponge layers?
The batter is divided and tinted with pink and yellow gel food coloring in varying intensities before baking. This creates gentle gradient layers when stacked.
- → What type of buttercream is used to frost the layers?
A silky buttercream is made by beating unsalted butter with powdered sugar, vanilla, and milk or cream until fluffy, then tinted to match the ombre colors.
- → Can the cake be made ahead of time?
Yes, the assembled cake can be chilled for up to 4 days refrigerated or kept at room temperature for 1 day, allowing flavors to meld and frosting to set.
- → Are there any suggested decorations for a spring theme?
Pastel sprinkles, edible flowers, or other light-colored embellishments complement the ombre effect and enhance seasonal appeal.
- → What tools are helpful for assembling and decorating this cake?
Three 8-inch round pans, an electric mixer, offset spatula, cake scraper, and parchment paper help achieve smooth layers and clean frosting finishes.
- → Is this suitable for specific dietary needs?
The cake contains wheat, eggs, and dairy. Checking ingredient labels for food coloring and sprinkles is recommended for allergen concerns.