 Save to Pinterest
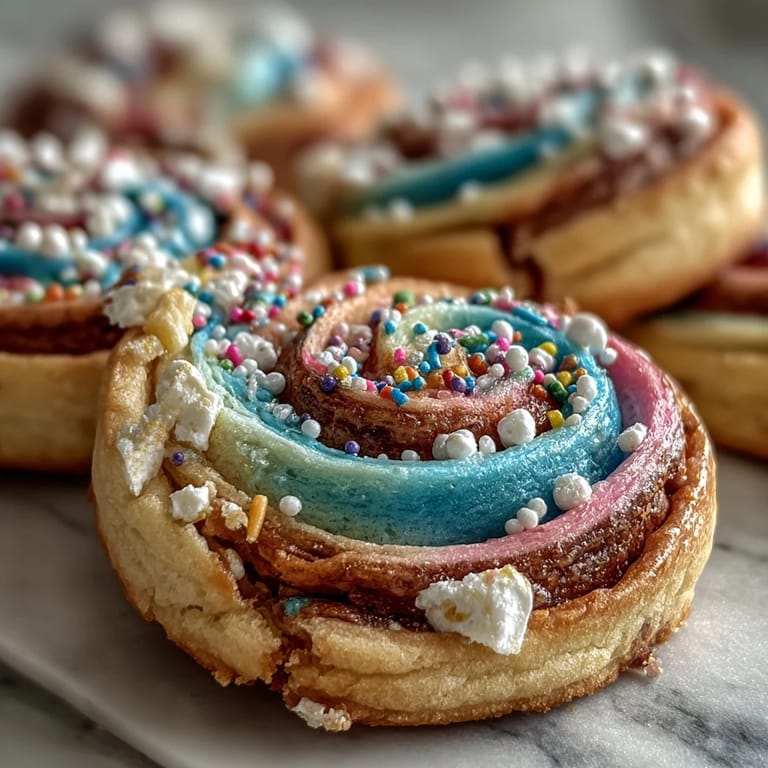
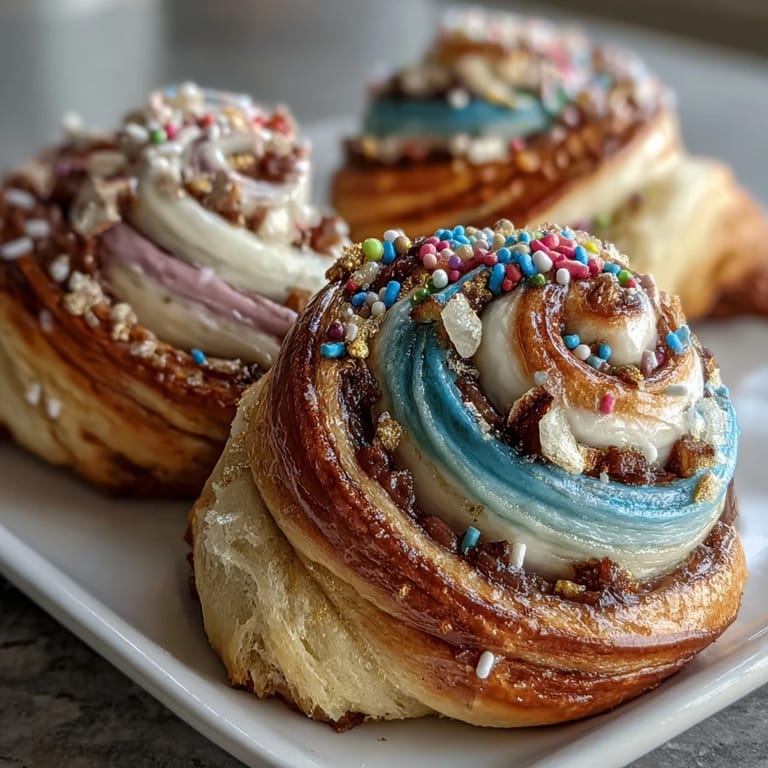
 My niece was turning seven, and she was obsessed with Cookie Run Kingdom—those adorable pixel-art cookies with their wild personalities. I wanted to make her birthday special, so I decided to create actual cookies inspired by the game, with those signature pastel swirls that looked almost too pretty to eat. The moment she saw them on the table, her eyes went wide, and she immediately tried to match each cookie to a character. That's when I knew these soft, buttery cookies were going to become a birthday tradition in our family.
I'll never forget my friend Sarah's face when I brought these to her office potluck. She took one bite and immediately asked if I could make them for her daughter's school bake sale, and suddenly I was producing batches like a small business. Watching people pick them up by the swirl, admiring the colors before they even tasted them, reminded me that sometimes the most delicious part of baking is seeing someone's joy before the first bite.
Ingredients
- All-purpose flour (2 1/2 cups): The foundation that keeps these cookies tender, not tough—measure by spooning into your measuring cup rather than scooping to avoid packing it down.
- Baking powder (1/2 tsp): Just enough lift to keep them soft without making them cakey, but resist the urge to add more.
- Salt (1/4 tsp): This tiny amount makes the butter and vanilla taste richer than they actually are.
- Unsalted butter (1 cup), room temperature: Cold butter will give you dense cookies, so leave it out for at least thirty minutes before you start mixing.
- Granulated sugar (1 cup): The sweetness and texture depend on this being combined properly with the butter—don't rush this step.
- Egg (1 large): Room temperature eggs mix in more smoothly and create better texture than cold ones straight from the fridge.
- Vanilla extract (2 tsp) and almond extract (1/2 tsp): The vanilla is non-negotiable, but the almond is your secret weapon for depth—it makes people wonder what that subtle something is.
- Gel food coloring: Only gel or liquid—powder will make the dough grainy, and regular liquid coloring will thin it out.
- Pastel sprinkles (1/4 cup): These are optional but they catch the light and add that final touch of whimsy.
Tired of Takeout? 🥡
Get 10 meals you can make faster than delivery arrives. Seriously.
One email. No spam. Unsubscribe anytime.
Instructions
- Prep your dry ingredients:
- Whisk the flour, baking powder, and salt together in a bowl and set it aside—this only takes a minute but prevents lumps from sneaking into your dough.
- Cream butter and sugar:
- Beat the softened butter and sugar for about three minutes until it looks pale and fluffy, like clouds. You'll know it's ready when you lift the mixer and the mixture falls in ribbons rather than clumps.
- Add your wet ingredients:
- Mix in the egg, vanilla, and almond extract until everything is smooth and combined, scraping down the bowl at least once to catch the bits hiding at the bottom.
- Bring wet and dry together:
- Gently fold in the dry ingredients just until there are no white streaks of flour visible—overmixing here leads to tough cookies, and nobody wants that.
- Color your dough:
- Divide the dough into three or four portions (depending on how many colors you want) and add a tiny drop of gel coloring to each, then knead it in with your hands until the color is even. Start with less coloring than you think you need; you can always add more.
- Create the swirl log:
- Roll each colored portion into a rope about twelve inches long, then gently twist them together like you're braiding hair—don't be too aggressive or you'll just create a muddy brown. Roll the twisted bundle into a log shape.
- Chill the dough:
- Wrap your dough log in plastic wrap and refrigerate for at least two hours, or even overnight. This step makes the dough firm enough to slice cleanly without dragging or smearing.
- Slice and bake:
- Preheat your oven to 350°F, line your baking sheets with parchment paper, and slice the cold dough into rounds about a quarter-inch thick. Space them two inches apart because they spread slightly.
- Add sprinkles and bake:
- If using sprinkles, press them gently onto each cookie before baking, then bake for ten to twelve minutes until the edges are just barely starting to turn golden. The centers should look almost underdone when you pull them out.
- Cool properly:
- Leave them on the baking sheet for five minutes to firm up, then transfer to a wire rack to cool completely—this prevents them from continuing to cook on the hot pan.
 Save to Pinterest
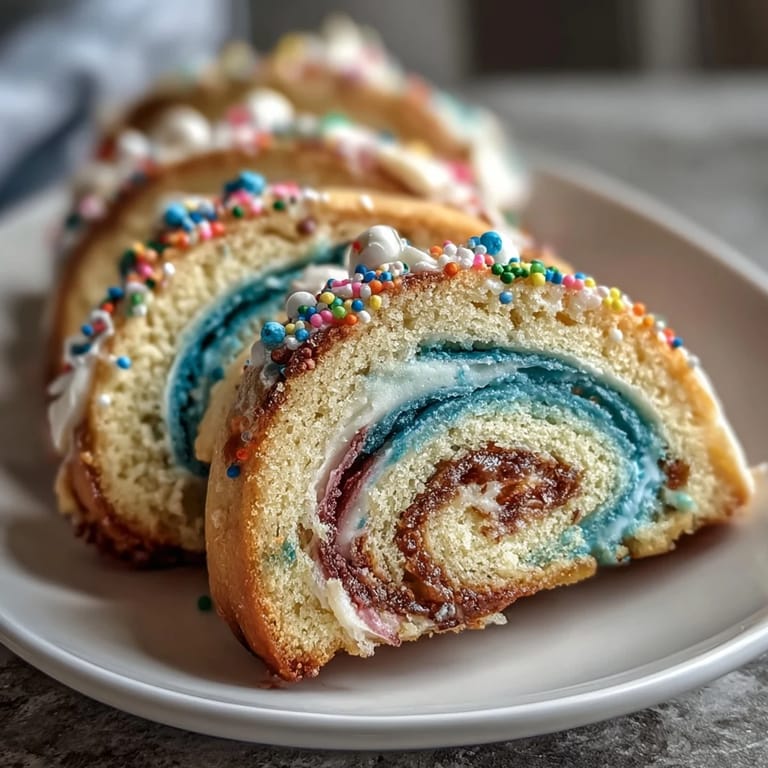
 There's something magical about watching someone you love realize that a cookie isn't just delicious—it's a tiny edible work of art. These cookies have a way of making people pause before they bite, which for me, is the whole point of baking something pretty.
Why Pastel Colors Matter
I learned the hard way that gel coloring is absolutely essential here—I once tried to use regular food coloring from the grocery store and the dough got wet and sticky, which made the whole swirling impossible. Gel coloring gives you vibrant pastels without changing the dough's texture, and honestly, investing in a small set of gel colors changed my decorating game entirely. The colors also stay bright after baking instead of fading to muddy tones, which is why your finished cookies actually look like they belong in a fantasy game.
Storage and Make-Ahead Magic
One of my favorite things about these cookies is that you can make the dough log days in advance and just slice and bake when you need them—perfect for when you're hosting something and don't want to be covered in flour at the last minute. They stay perfectly soft in an airtight container for up to five days at room temperature, and they freeze beautifully for up to two months, either as dough or baked. I usually bake them the morning of a party so they're still slightly warm when people arrive, which makes the whole kitchen smell incredible.
Flavor Variations to Try
While the vanilla-almond combo is perfect as-is, you can make these completely your own with a few simple tweaks that don't change the baking time or technique. Try adding lemon or orange zest for brightness, or a quarter teaspoon of peppermint extract if you want something cooler and fresher, or even a pinch of cinnamon to make them feel cozy instead of whimsical.
- Lemon zest (from one lemon) adds a subtle brightness that makes people ask what that flavor is.
- A quarter teaspoon of peppermint extract transforms these into winter cookies that still look cheerful.
- Experiment with one flavor at a time so you know exactly what you love for next time.
 Save to Pinterest
 Every time I make these cookies, they remind me that the most memorable food is the stuff we put love into, not just ingredients into a bowl. If you're looking for something that tastes as good as it looks, these are absolutely your answer.
Recipe FAQs
- → How do I achieve the pastel swirl effect?
Divide the dough into portions, tint each with gel food coloring, roll into ropes, then gently twist together before chilling and slicing.
- → Why is chilling the dough important?
Chilling firms the dough, making it easier to slice and helping maintain the swirl shapes during baking.
- → Can I use different extracts for flavor?
Yes, adding almond or citrus zest enhances flavor without affecting texture.
- → How should I store the cookies after baking?
Keep them in an airtight container at room temperature for up to 5 days, or freeze for longer storage.
- → What causes cookies to be soft and buttery?
Using room temperature unsalted butter creamed with sugar contributes to a tender, soft texture.