 Save to Pinterest
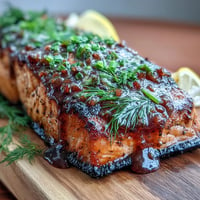
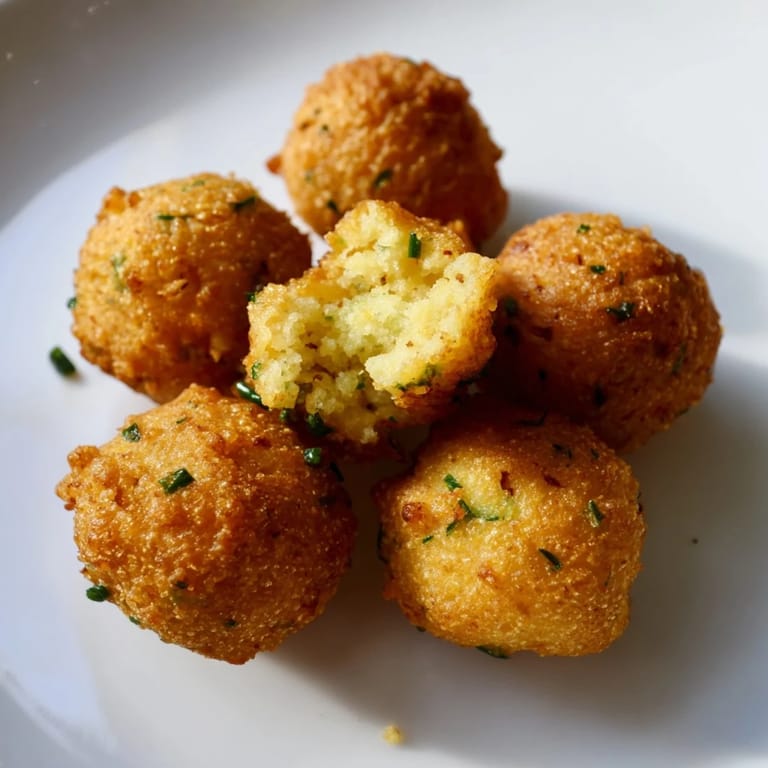
 My first encounter with proper hushpuppies happened at a weathered shack on a Louisiana dock, where an older woman was frying them in a cast-iron pot that had probably been doing the same job for thirty years. I watched the batter puff up and turn golden in seconds, then bit into one still warm from the oil—the outside crackled like nothing I'd ever heard, and inside was this tender, almost creamy cornmeal center with little wisps of onion. I spent the next hour asking her questions until she finally just laughed and told me the secret was not overthinking it, and buttermilk instead of regular milk. That advice stuck with me, and now whenever I make them, I remember the sound of that sizzle and her no-nonsense confidence.
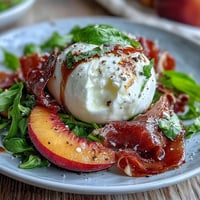
I made these for a summer dinner party where someone brought fresh-caught redfish, and suddenly everything on the table made sense—the crispy, salty hushpuppies alongside the delicate fried fish, with tartar sauce cutting through everything. One guest who swore she didn't like fried food ate six of them before realizing it, and the whole table fell quiet except for the sound of people chewing contentedly. That's when I understood these aren't just a side dish—they're the thread that ties a meal together.
Ingredients
- Cornmeal (yellow, medium grind): The backbone of the whole recipe—medium grind gives you texture without the gritty feeling of coarse meal, and it stays tender when cooked properly.
- All-purpose flour: Just enough to help the batter hold together without making them dense or tough.
- Baking powder and baking soda: These work together to make the hushpuppies puff up and stay light inside, creating that precious contrast with the fried exterior.
- Buttermilk: This is the non-negotiable ingredient—the acidity tenderizes the cornmeal and adds a subtle tang that regular milk just can't deliver.
- Egg: Binds everything while keeping the crumb structure light.
- Onion: Finely diced so it melts into the batter and gives you those little bursts of sweetness throughout.
- Vegetable oil: You need enough to fully submerge the hushpuppies, and it should reach exactly 350°F—too cool and they get greasy, too hot and they're brown outside but raw inside.
Tired of Takeout? 🥡
Get 10 meals you can make faster than delivery arrives. Seriously.
One email. No spam. Unsubscribe anytime.
Instructions
- Whisk your dry team together:
- Combine the cornmeal, flour, baking powder, baking soda, sugar, salt, black pepper, and cayenne in a large bowl. Make sure everything is evenly distributed so you don't get pockets of pure baking soda or salty spots in your finished hushpuppies.
- Marry the wet ingredients:
- In a separate bowl, whisk the buttermilk and egg until they're fully combined and slightly frothy. This aeration helps the hushpuppies puff.
- Bring it together gently:
- Pour the wet mixture into the dry ingredients and stir just until the flour disappears—this takes maybe five or six stirs. Overmixing develops gluten and makes them tough instead of tender.
- Fold in the alliums:
- Add your diced onion and chives if using, folding them in with a few gentle strokes. Let the batter sit for five minutes so the cornmeal can fully hydrate and the flavors can settle.
- Get your oil right:
- Heat your oil to exactly 350°F in a deep pot or fryer. If you don't have a thermometer, drop a tiny piece of batter in—it should sizzle immediately and brown in about thirty seconds.
- Fry in batches:
- Using two spoons or an ice cream scoop, drop rounded tablespoons of batter into the hot oil, working in batches so you're not crowding the pot. Crowding lowers the oil temperature and turns everything greasy.
- Watch for the color change:
- After about two minutes, they'll start floating to the surface and turning golden. Give them a gentle stir and let them go another minute until they're deep golden brown and crispy all over.
- Finish strong:
- Lift them out with a slotted spoon and let them drain on paper towels. Serve them hot, within the first few minutes if you can—that's when the crunch is at its peak.
 Save to Pinterest
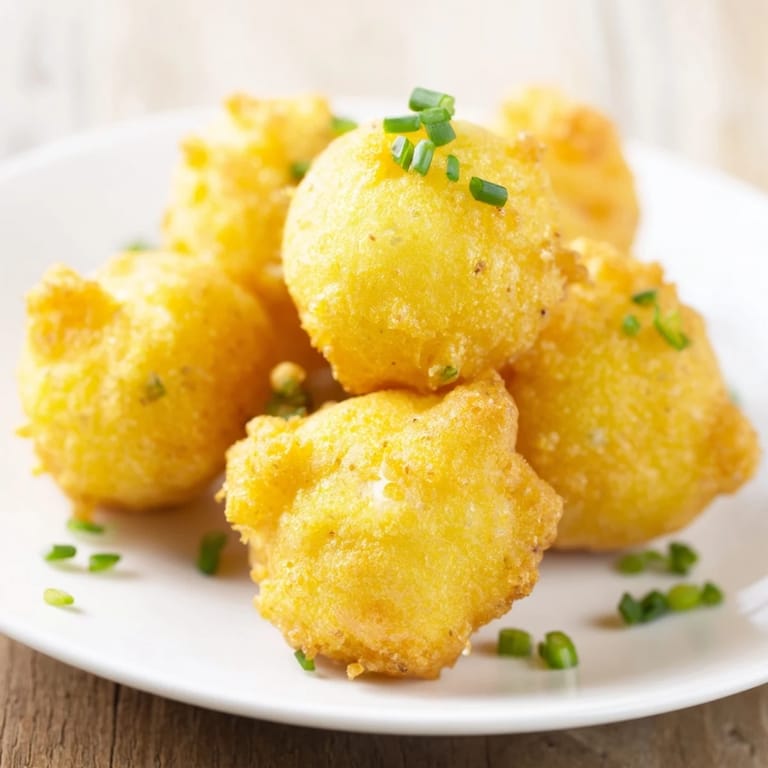
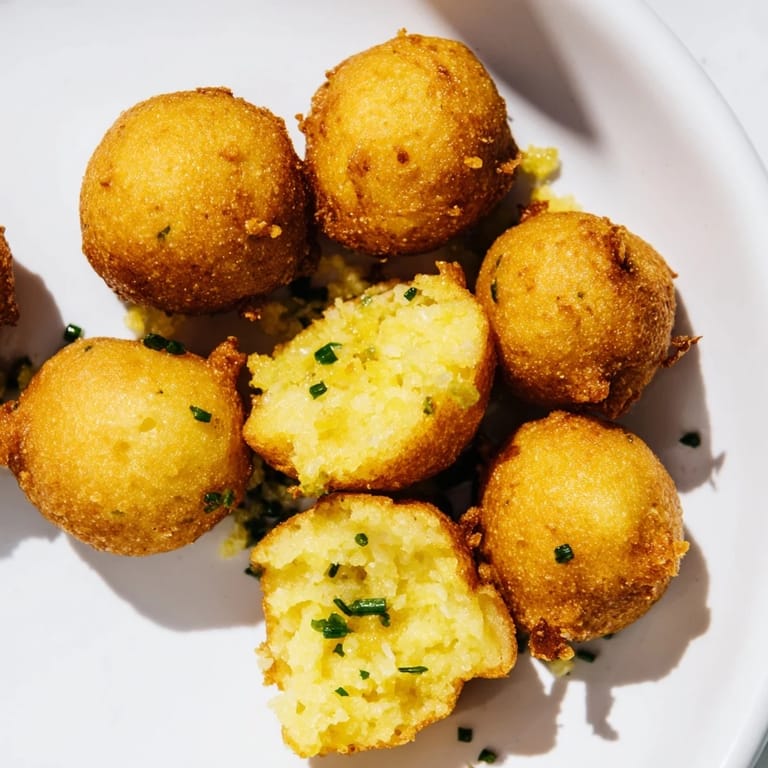
 There's something almost magical about watching a spoonful of humble batter transform into something golden and crispy in the span of a few seconds. My kitchen still smells like that hot oil and corn, and my cast-iron pot has earned its place on the stove. It's the kind of simple dish that reminds you why cooking matters—it turns flour, cornmeal, and onion into something that makes people stop and smile.
The Science of the Sizzle
When batter hits 350°F oil, the water content flashes to steam and creates pockets throughout the hushpuppy, which is what gives you that light, tender interior. The cornmeal proteins toast slightly and develop that characteristic nutty flavor, while the exterior moisture evaporates almost instantly, creating the crispy crust. This all happens in a surprisingly short window—usually two to three minutes—which is why timing and temperature matter so much. Too long and the inside gets dry; too short and the outside never crisps. It's one of those moments in cooking where precision and intuition have to work together.
Flavor Variations That Actually Work
The baseline hushpuppy is already delicious, but once you understand the recipe, you can start playing with it. A pinch of smoked paprika adds a subtle depth that no one can quite identify but everyone notices. Minced jalapeño brings real heat and a fresh brightness, while fresh corn kernels—when they're in season—add little pockets of sweetness that are almost luxurious. I've also tried adding a teaspoon of hot sauce to the wet ingredients, which adds both heat and a vinegary tang that keeps the hushpuppies from feeling heavy. The key is not to get carried away; these are still fundamentally hushpuppies, and they should still taste like themselves.
Serving and Storage Wisdom
Hushpuppies are at their absolute best in the first twenty minutes after frying, when the inside is still warm and the outside still has real crunch. They're also one of the few fried foods that actually reheats reasonably well—a few minutes in a 350°F oven brings back some of that texture. Cold hushpuppies are edible but forgettable; they turn a bit heavy and dense. If you're making them ahead for a party, fry them, drain them, and let them cool, then reheat just before serving. They don't need to sit in the refrigerator; room temperature is actually fine for a few hours.
- Pair them with tartar sauce, honey butter, or even a spicy mayo if you're feeling creative.
- They're perfect alongside fried fish, shrimp, or chicken—really, anything with a crispy exterior and tender interior inside.
- Store leftovers in an airtight container for up to two days, though they lose their magic quickly.
 Save to Pinterest
 There's a reason hushpuppies have stuck around for generations—they're simple, forgiving, and absolutely worth the small effort it takes to make them right. Once you've tasted a proper homemade hushpuppy, warm from the oil, you'll understand why they deserve a permanent place on your table.
Recipe FAQs
- → What type of cornmeal is best?
Medium grind yellow cornmeal provides the perfect texture, balancing crispiness outside with tenderness inside.
- → Can I adjust the spice level?
Yes, add cayenne pepper for heat or omit it for a milder flavor. Smoked paprika also adds a smoky touch.
- → What’s the ideal frying temperature?
Maintain oil temperature around 350°F (175°C) to ensure golden, crispy dough balls without being greasy.
- → How to prevent the dough from overmixing?
Stir gently until just combined; overmixing can result in tougher texture rather than tender centers.
- → Are there good serving suggestions?
Serve hot with tartar sauce, honey butter, or alongside fried fish for a traditional Southern pairing.